Nigeria Quantum Resonance Magnetic Analyzer

How to Install a Quantum Resonance Magnetic Analyzer: A Beginner’s Guide

» How to Use a Quantum Resonance Magnetic Analyzer: A Beginner’s Guide » How to Install a Quantum Resonance Magnetic Analyzer: A Beginner’s Guide

Setting up your quantum resonance magnetic analyzer correctly is crucial for accurate health assessments. This comprehensive guide walks you through each installation step, from unboxing to your first scan. Whether you’re a healthcare professional or home user, these instructions ensure your device functions optimally from day one.

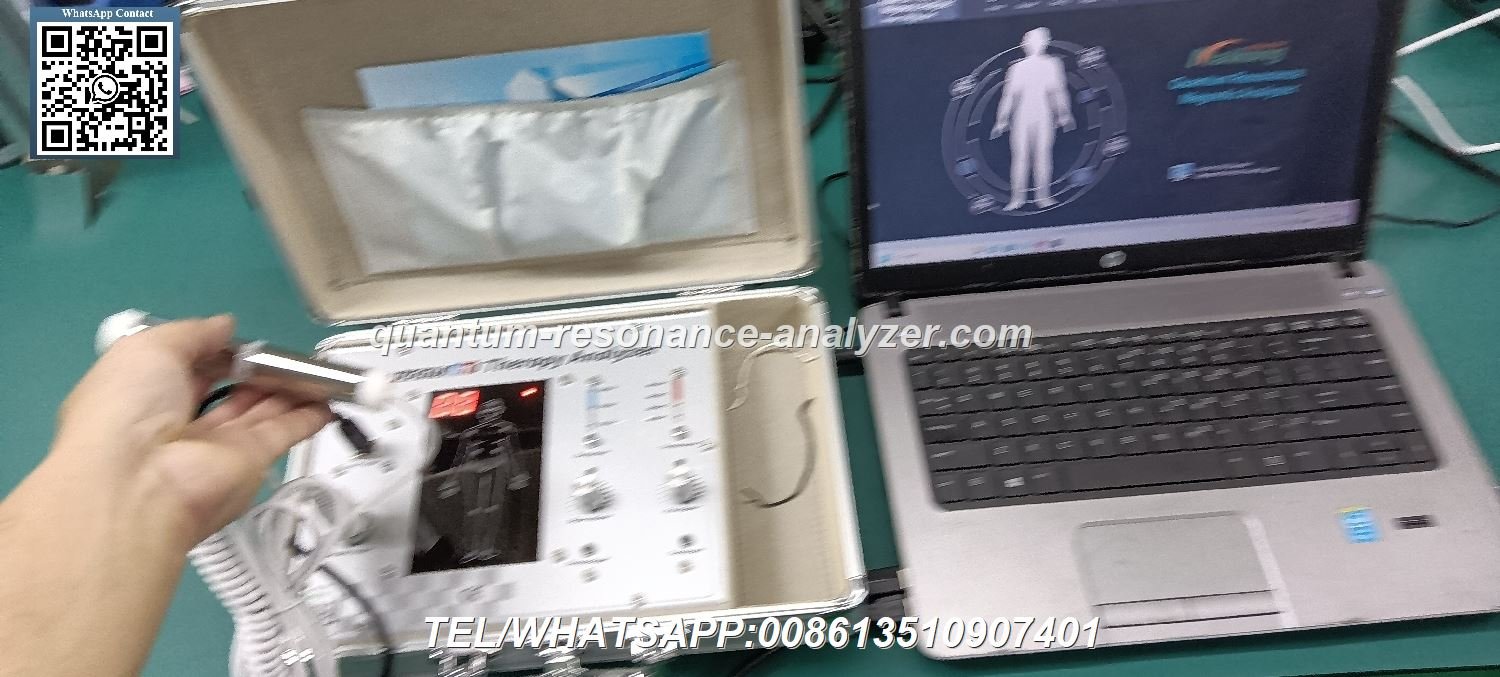
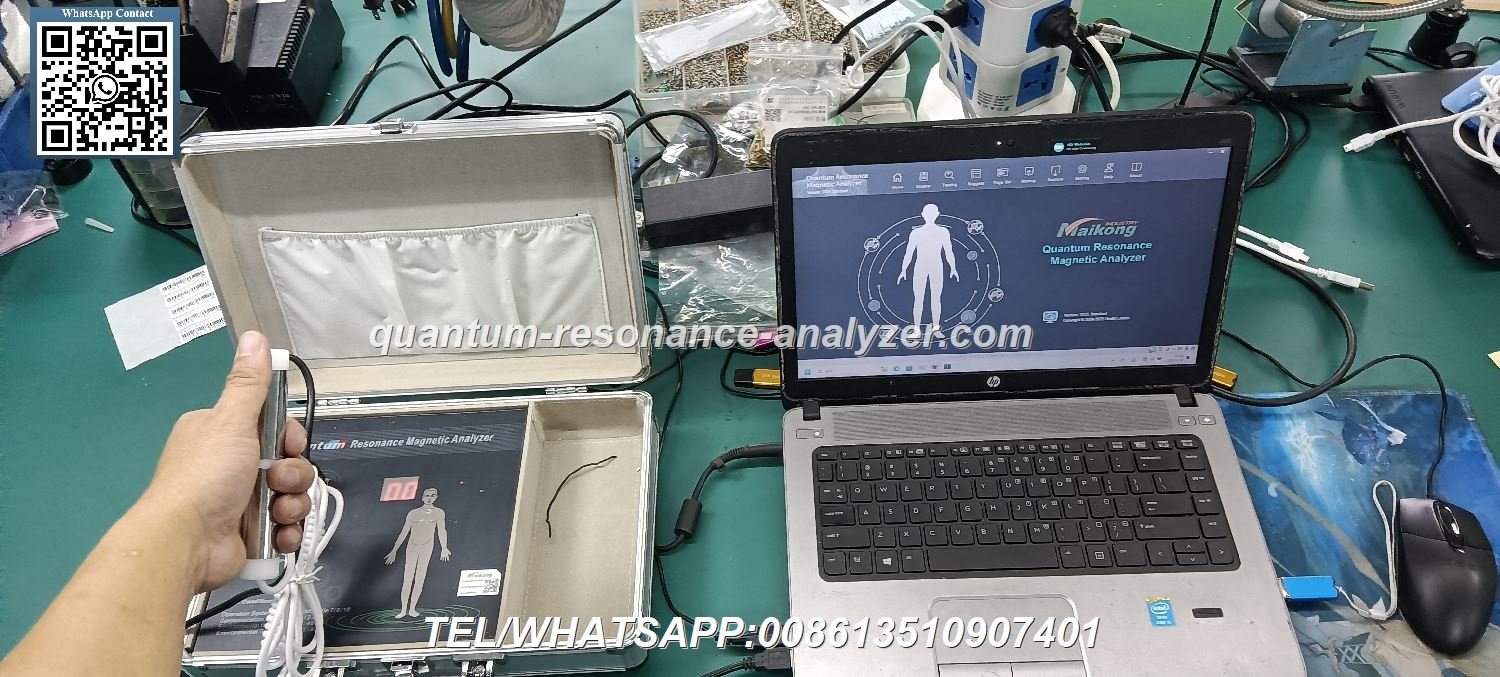
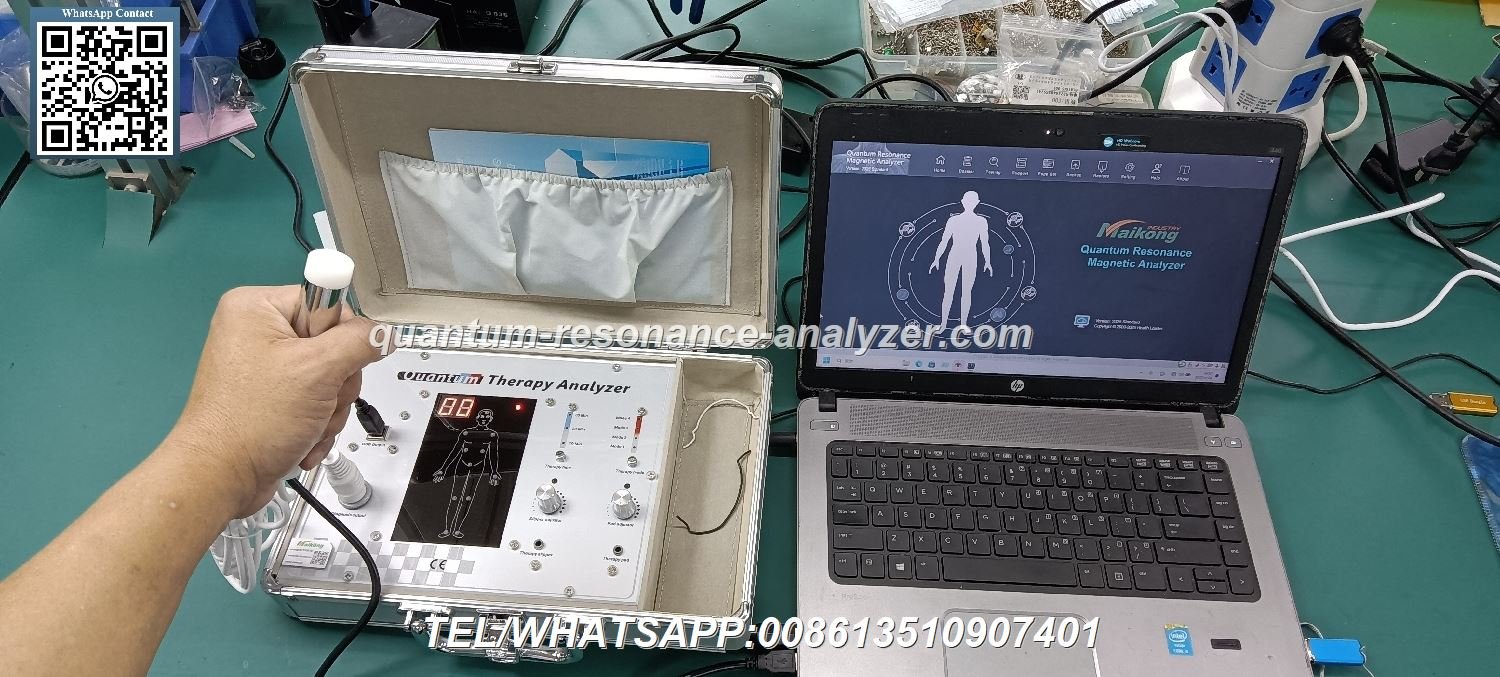
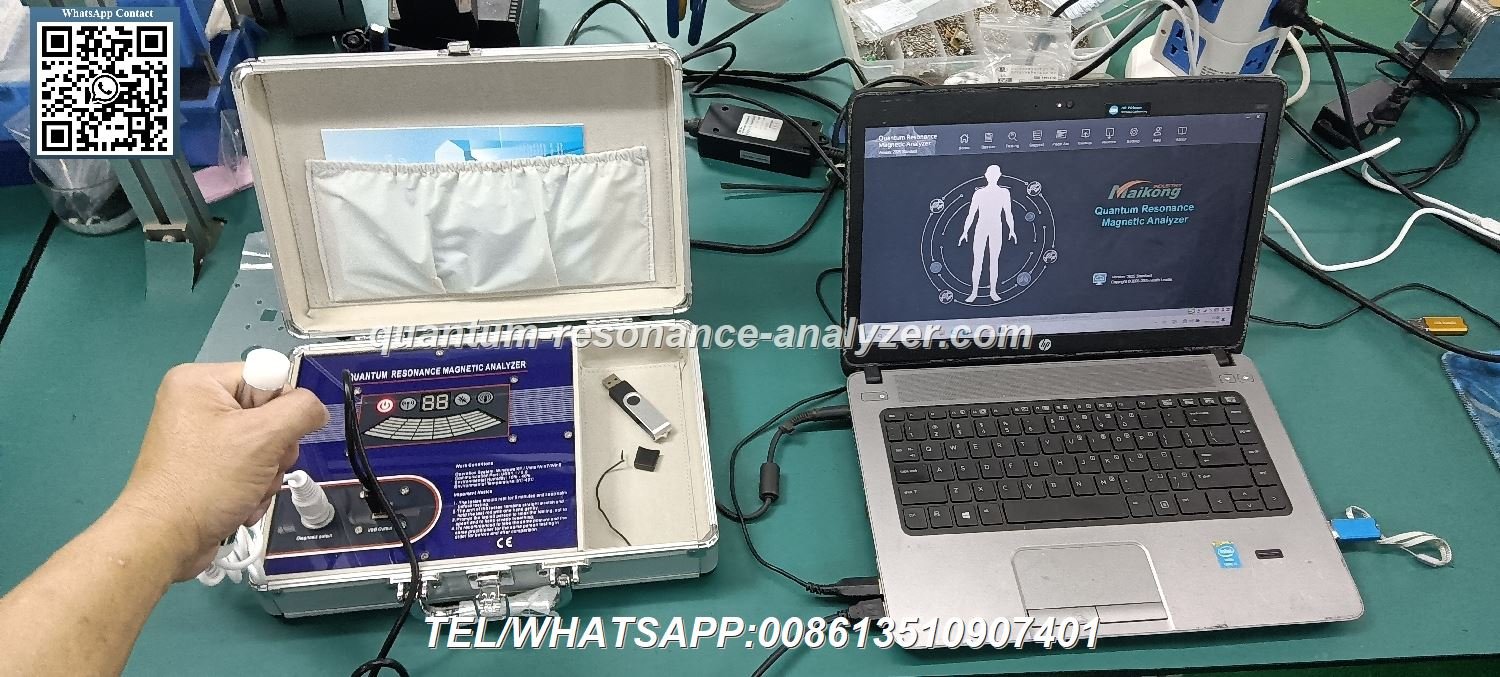
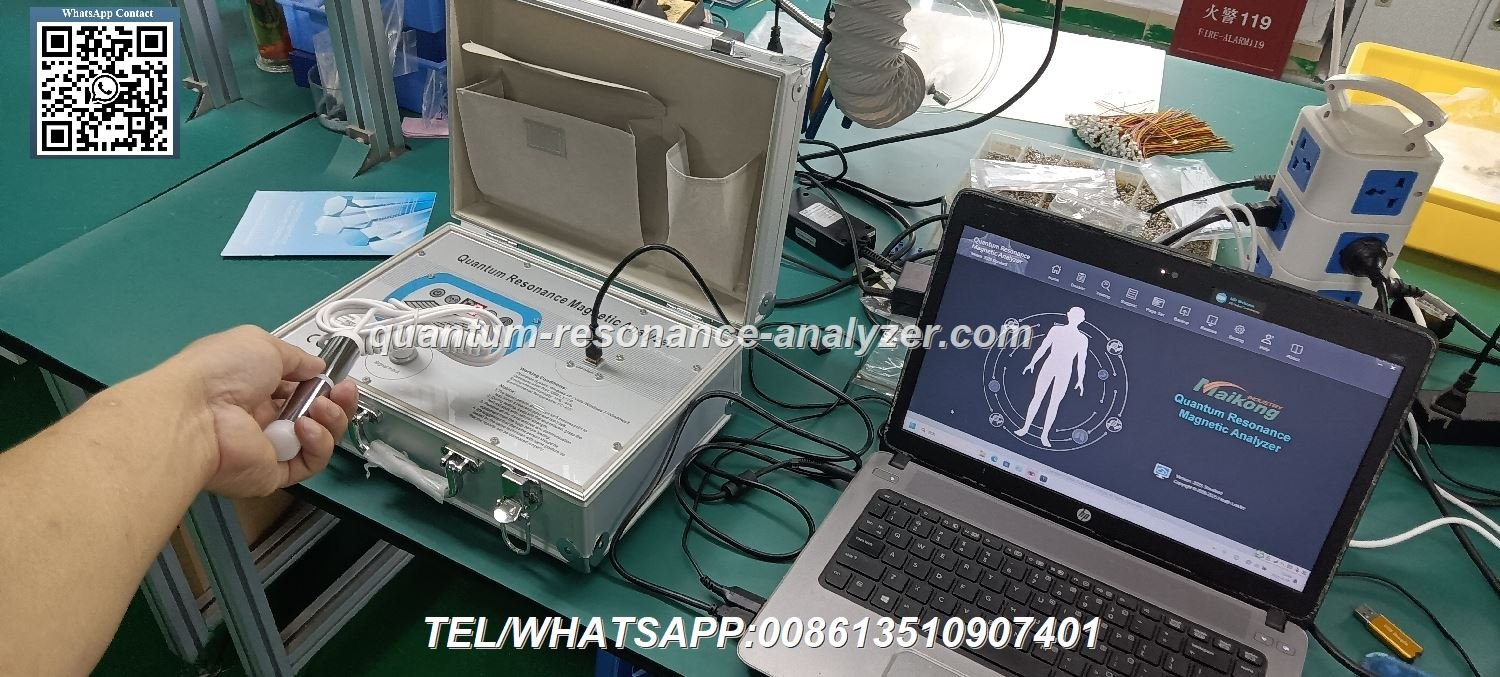
Quantum resonance magnetic analyzer complete setup with computer and accessories

Essential Tools and Requirements

Before beginning the installation process, ensure you have all necessary components and an appropriate setup environment for your quantum resonance magnetic analyzer.

Required Components

  • Quantum resonance magnetic analyzer main unit
  • USB connection cable
  • Hand sensor/probe
  • Power adapter (with correct voltage for your region)
  • Software installation CD or download link
  • User manual and quick start guide
  • Computer or tablet meeting minimum system requirements
  • Clean, flat surface for device placement
Quantum resonance magnetic analyzer components laid out for installation

Computer System Requirements

  • Operating System: Windows 7/8/10/11 (most models are not compatible with Mac OS)
  • Processor: Intel Core i3 or equivalent (minimum)
  • RAM: 4GB minimum (8GB recommended)
  • Hard Drive: At least 500MB free space for software installation
  • USB Port: At least one available USB 2.0 port (USB 3.0 recommended)
  • Screen Resolution: Minimum 1366 x 768 pixels
  • Internet Connection: Required for software activation and updates

Safety Precautions and Preparation

Proper safety measures ensure accurate readings and protect both the device and user. Follow these guidelines before proceeding with installation.

Safety Measures

  • Ensure proper electrical grounding in your workspace
  • Keep the analyzer away from strong electromagnetic fields
  • Maintain at least 1 meter distance from other electronic devices
  • Use only the original power adapter provided with the device
  • Install in a dry, dust-free environment with stable temperature
  • Allow device to reach room temperature before powering on if moved from cold storage

Avoid These Conditions

  • High humidity environments (above 80% relative humidity)
  • Direct sunlight or heat sources
  • Proximity to large speakers or magnetic equipment
  • Unstable power sources or outlets without surge protection
  • Dusty or poorly ventilated areas
  • Placement near wireless routers or active Bluetooth devices
Proper workspace setup for quantum resonance magnetic analyzer installation

Important: Before connecting your quantum resonance magnetic analyzer to power, ensure all cables are properly secured and your hands are dry. Never connect or disconnect components while the device is powered on.

Step-by-Step Installation Process

Follow these sequential steps to properly install your quantum resonance magnetic analyzer. Each step is crucial for ensuring accurate functionality.

1. Unboxing and Component Identification

Proper workspace setup for quantum resonance magnetic analyzer installation
  1. Open the packaging carefully and place all components on a clean, flat surface
  2. Verify all items against the component checklist in your manual
  3. Remove all protective films and packaging materials from the analyzer unit
  4. Inspect all components for any visible damage or defects
  5. Identify each connection port on the main analyzer unit (usually labeled)

2. Hardware Connection

Connecting cables to quantum resonance magnetic analyzer ports
  1. Place the main analyzer unit on a stable, flat surface
  2. Connect the hand sensor/probe to the designated port (usually marked “SENSOR” or with a hand icon)
  3. Connect one end of the USB cable to the analyzer’s USB port
  4. Do NOT connect the other end to your computer yet
  5. Connect the power adapter to the analyzer’s power input
  6. Plug the power adapter into a grounded wall outlet or surge protector

Most quantum resonance magnetic analyzer models use color-coded ports or clear icons to indicate where each cable should be connected. Refer to your specific model’s manual if port identification is unclear.

3. Software Installation

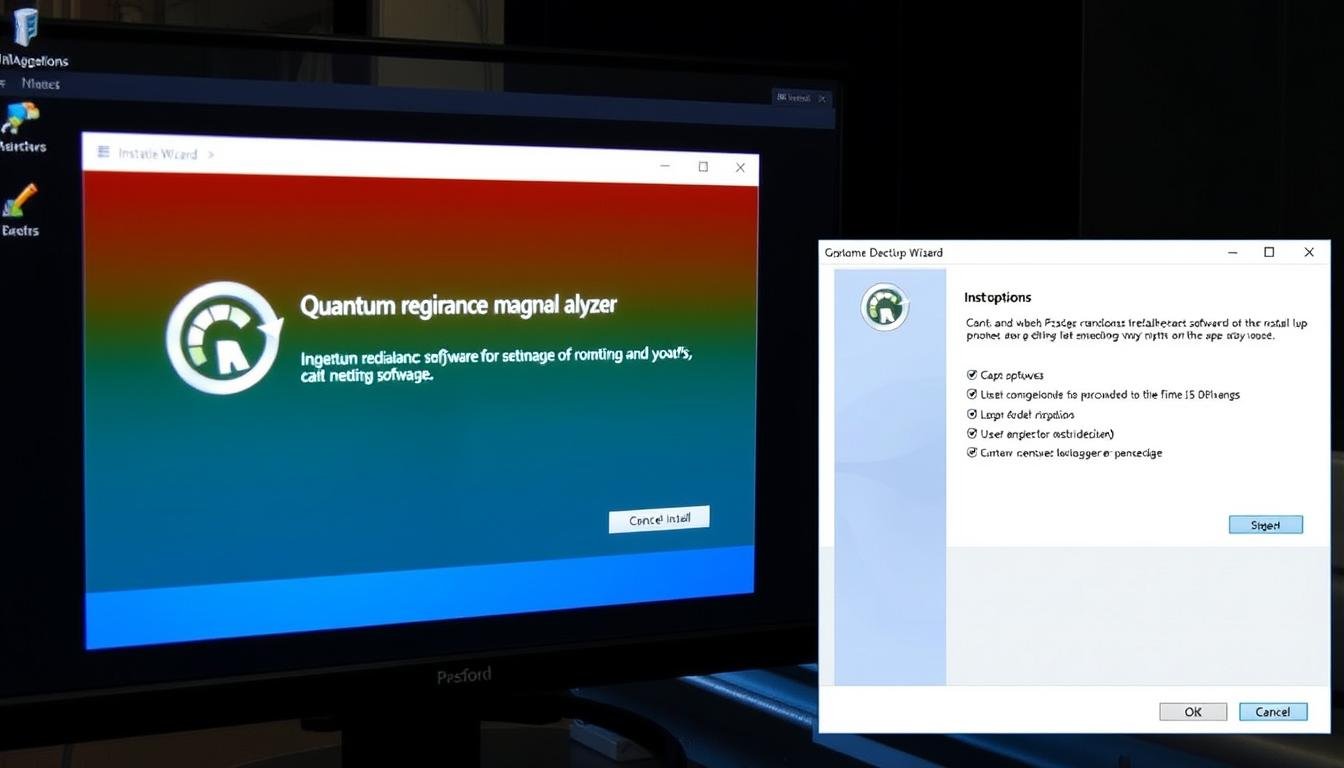
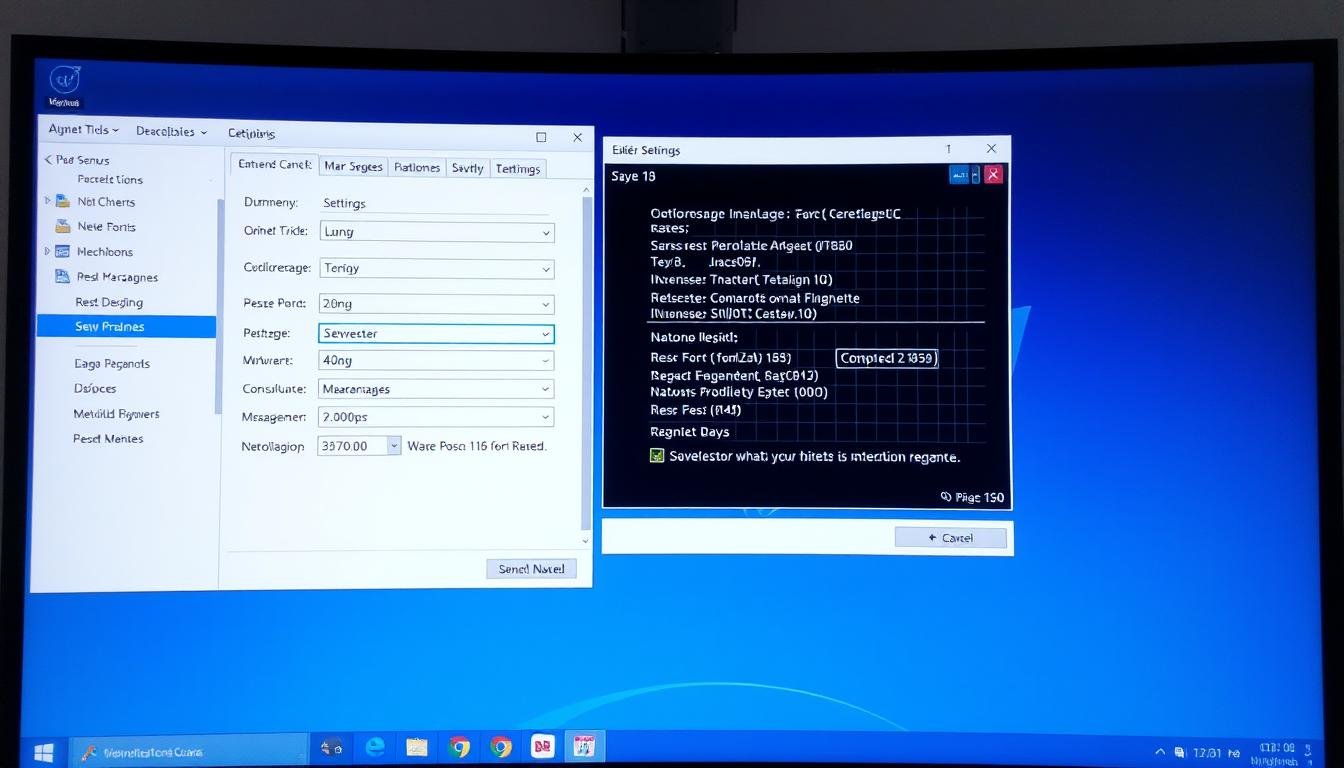
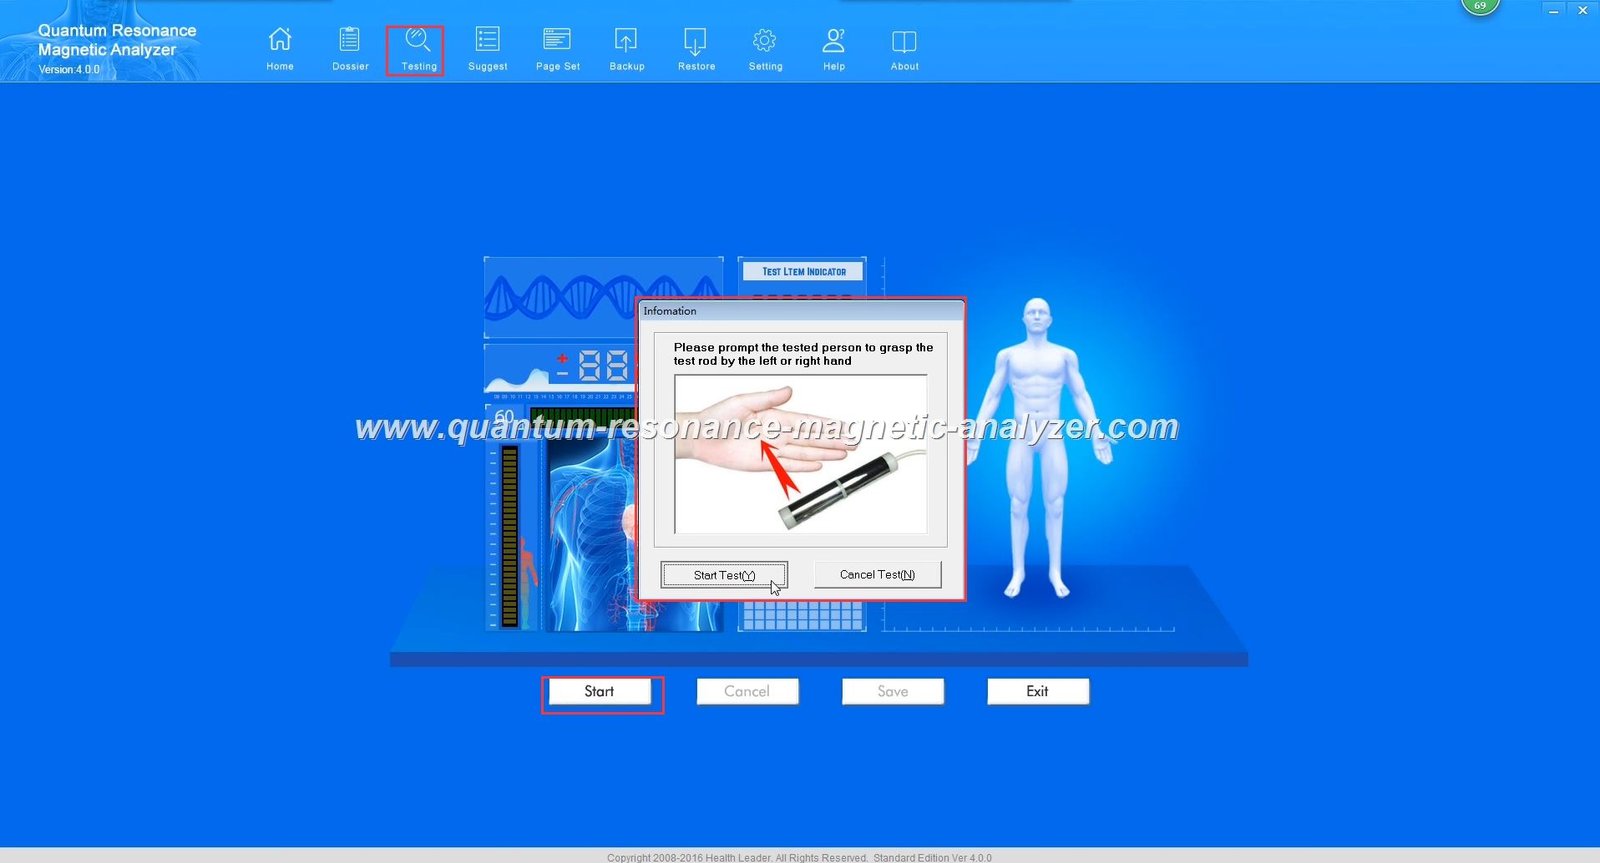
Software installation screen for quantum resonance magnetic analyzer
  1. Insert the software CD into your computer’s disc drive, or download the software from the manufacturer’s website
  2. Close any other running applications on your computer
  3. Run the installation file (usually named “Setup.exe” or similar)
  4. Follow the on-screen instructions in the installation wizard
  5. Select your preferred language and installation location when prompted
  6. Accept the license agreement after reading it
  7. Complete the installation and restart your computer if prompted

Do not connect the analyzer to your computer until software installation is complete. Some antivirus programs may flag the software – you may need to temporarily disable your antivirus or add an exception.

4. Device Connection and Driver Installation

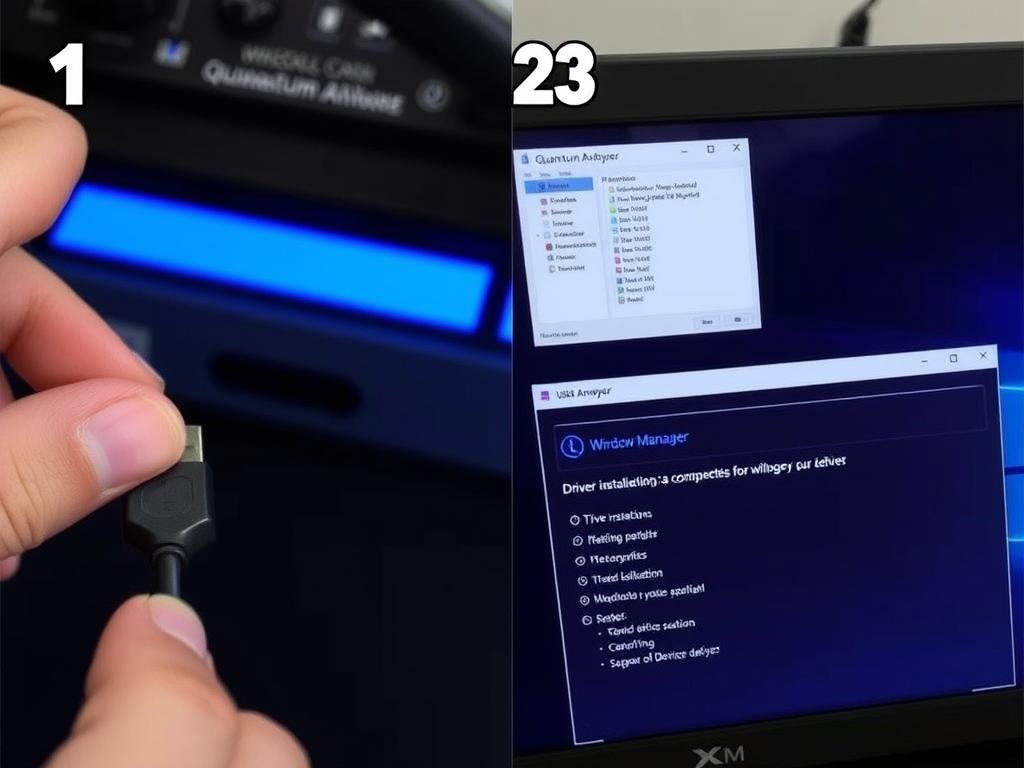
Connecting quantum resonance magnetic analyzer to computer and driver installation
  1. Ensure the analyzer is powered on (power indicator light should be illuminated)
  2. Connect the free end of the USB cable to your computer
  3. Wait for your operating system to detect the new hardware
  4. If a driver installation wizard appears, follow the on-screen instructions
  5. If prompted to allow the software to make changes to your device, select “Yes”
  6. Wait for driver installation to complete (may take several minutes)

Calibration and Initial Setup

Proper calibration is essential for accurate readings with your quantum resonance magnetic analyzer. This process establishes baseline measurements and configures the software for optimal performance.

Software Configuration

Software configuration screen for quantum resonance magnetic analyzer
  1. Launch the analyzer software from your desktop or start menu
  2. Create administrator account when prompted (set username and password)
  3. Select your preferred language and measurement units
  4. Enter your facility information if applicable (clinic name, address)
  5. Configure report settings and output preferences
  6. Save your configuration settings

Baseline Calibration

Performing baseline calibration on quantum resonance magnetic analyzer
  1. Navigate to the “Calibration” or “System Settings” section in the software
  2. Select “Baseline Calibration” or similar option
  3. Follow on-screen instructions to perform the calibration
  4. When prompted, place the hand sensor on a flat, non-metallic surface
  5. Do not touch the sensor during this process
  6. Wait for the calibration to complete (typically 30-60 seconds)
  7. Confirm calibration success when prompted

Baseline calibration should be performed at least once a month or whenever the device is moved to a new location. Some advanced models may require calibration before each use.

User Profile Setup

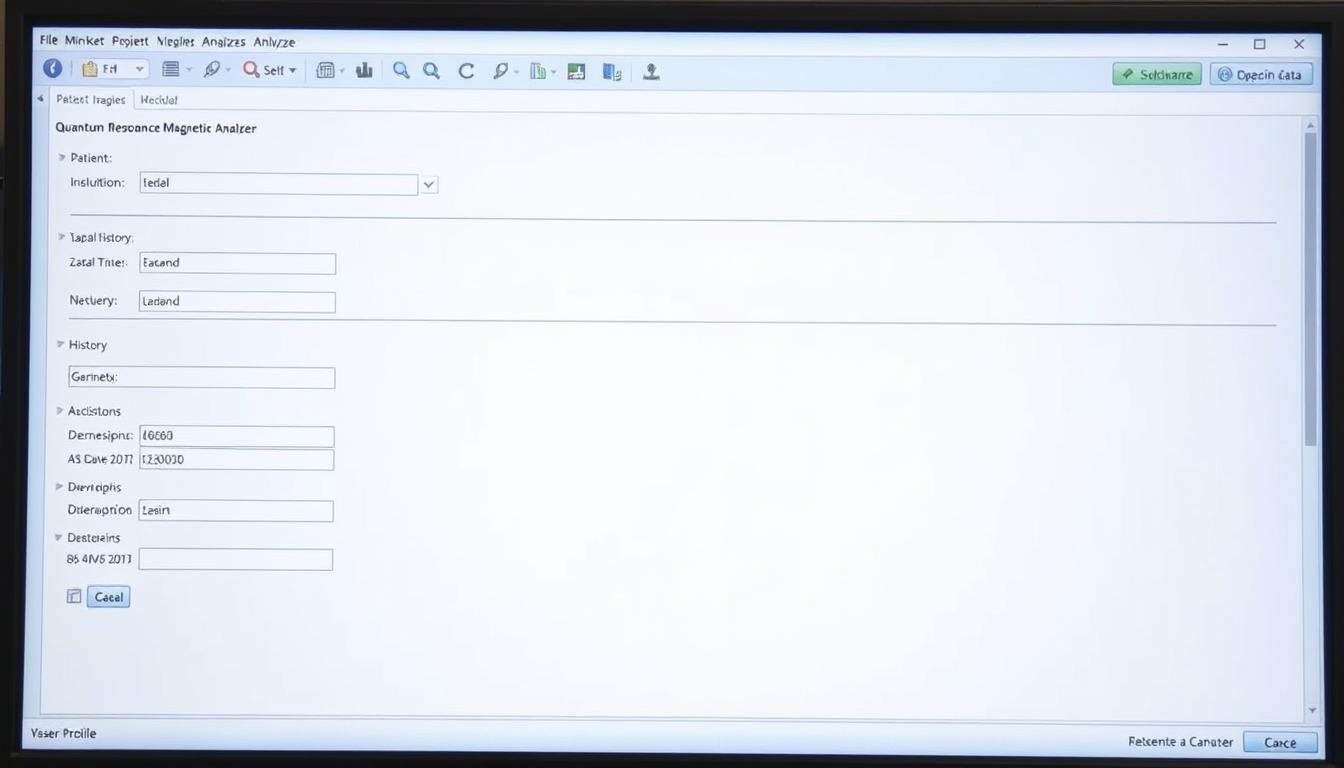
Creating user profiles in quantum resonance magnetic analyzer software
  1. Navigate to “User Management” or “Patient Profiles” in the software
  2. Select “Add New User/Patient”
  3. Enter required information (name, age, gender, height, weight)
  4. Add any relevant medical history if applicable
  5. Save the profile
  6. Create additional profiles as needed for different users

Testing and Verification

Before regular use, it’s important to verify that your quantum resonance magnetic analyzer is functioning correctly through a test scan and results verification.

Performing a Test Scan

Performing a test scan with quantum resonance magnetic analyzer
  1. Select a user profile from your database
  2. Choose “New Test” or “Start Scan” from the main menu
  3. Select the type of analysis you wish to perform
  4. Ensure the subject is seated comfortably and relaxed
  5. Have the subject hold the hand sensor as directed in the manual (typically in their palm)
  6. Click “Start” to begin the scan
  7. Maintain the position for the duration of the scan (typically 60-90 seconds)
  8. Wait for the scan to complete and results to process

Verifying Results

Reviewing test results from quantum resonance magnetic analyzer

  1. Review the generated report for completeness
  2. Verify that all selected parameters have values
  3. Check that graphs and charts display properly
  4. Ensure the report contains the correct user information
  5. Save and/or print the test results
  6. Compare with expected baseline readings if available

“A properly calibrated quantum resonance magnetic analyzer should produce consistent results when testing the same subject under similar conditions. Minor variations are normal, but significant discrepancies may indicate calibration issues.”

– From typical quantum resonance magnetic analyzer user manual

Common Issues and Troubleshooting

Even with careful installation, you may encounter some issues with your quantum resonance magnetic analyzer. Here are solutions to the most common problems.

Problem Possible Causes Solution
Device not powering on Power connection issue, faulty adapter Check power connections, try a different outlet, verify adapter is working
Software not detecting device USB connection issue, driver problem Reconnect USB cable, reinstall drivers, try different USB port
Erratic or inconsistent readings Improper calibration, electromagnetic interference Recalibrate device, move away from electronic devices, check for proper grounding
Software crashes during scan Insufficient computer resources, software conflict Close other applications, update software, check system requirements
Hand sensor not responding Poor connection, damaged sensor Check sensor connection, clean contact points, contact support if damaged
Incomplete test results Movement during scan, improper sensor contact Ensure subject remains still, verify proper sensor holding technique
Non-invasive scanning with quantum body analyzer machine

If you encounter persistent issues that cannot be resolved using these troubleshooting steps, contact the manufacturer’s technical support. Do not attempt to disassemble or repair the device yourself as this may void your warranty.

Maintenance and Care

Proper maintenance ensures the longevity and accuracy of your quantum resonance magnetic analyzer. Implement these care practices regularly.

Daily Care

  • Wipe hand sensors with alcohol pad after each use
  • Store in dust-free environment when not in use
  • Keep cables neatly organized to prevent damage
  • Power off completely when not in use for extended periods

Monthly Maintenance

  • Perform baseline calibration
  • Check all cable connections for wear
  • Update software if new versions available
  • Back up user data and test results
Quantum Resonance Magnetic Analyzer Software

Conclusion

Proper installation of your quantum resonance magnetic analyzer is essential for accurate health assessments. By following this comprehensive guide, you’ve ensured your device is correctly set up, calibrated, and ready for reliable operation. Remember to perform regular maintenance and calibration to maintain optimal performance.

Performing a test scan with quantum resonance magnetic analyzer

Need Additional Support?

If you’re experiencing difficulties with your quantum resonance magnetic analyzer installation or have questions about operation, our technical support team is ready to assist you.

Contact Technical Support

Frequently Asked Questions

How often should I calibrate my quantum resonance magnetic analyzer?

For optimal performance, perform baseline calibration monthly and whenever the device is relocated. Some manufacturers recommend calibration before each use for maximum accuracy.

Can I use the quantum resonance magnetic analyzer with a Mac computer?

Most quantum resonance magnetic analyzers are designed for Windows operating systems. Check your specific model’s documentation, as some newer versions may offer Mac compatibility or work through Windows emulation software.

How long should a complete scan take?

A standard scan typically takes 60-90 seconds, with an additional 1-2 minutes for the software to process and generate results. Total time from start to receiving the report is usually under 5 minutes.

Can multiple users share the same device?

Yes, the software allows you to create and manage multiple user profiles. Each user’s data and test results are stored separately in the database, making it suitable for clinical settings with multiple patients.

Is internet connection required for the analyzer to function?

While the basic functions work without internet, some features like software updates, cloud backup, and certain analysis modules may require internet connectivity. Check your specific model’s requirements.